Short Answer: upload a sequence of images in the turntable section
Introduction
So it's 2022 and you're still using static flat images or subpar looking web experiences to show of your amazing real estate?
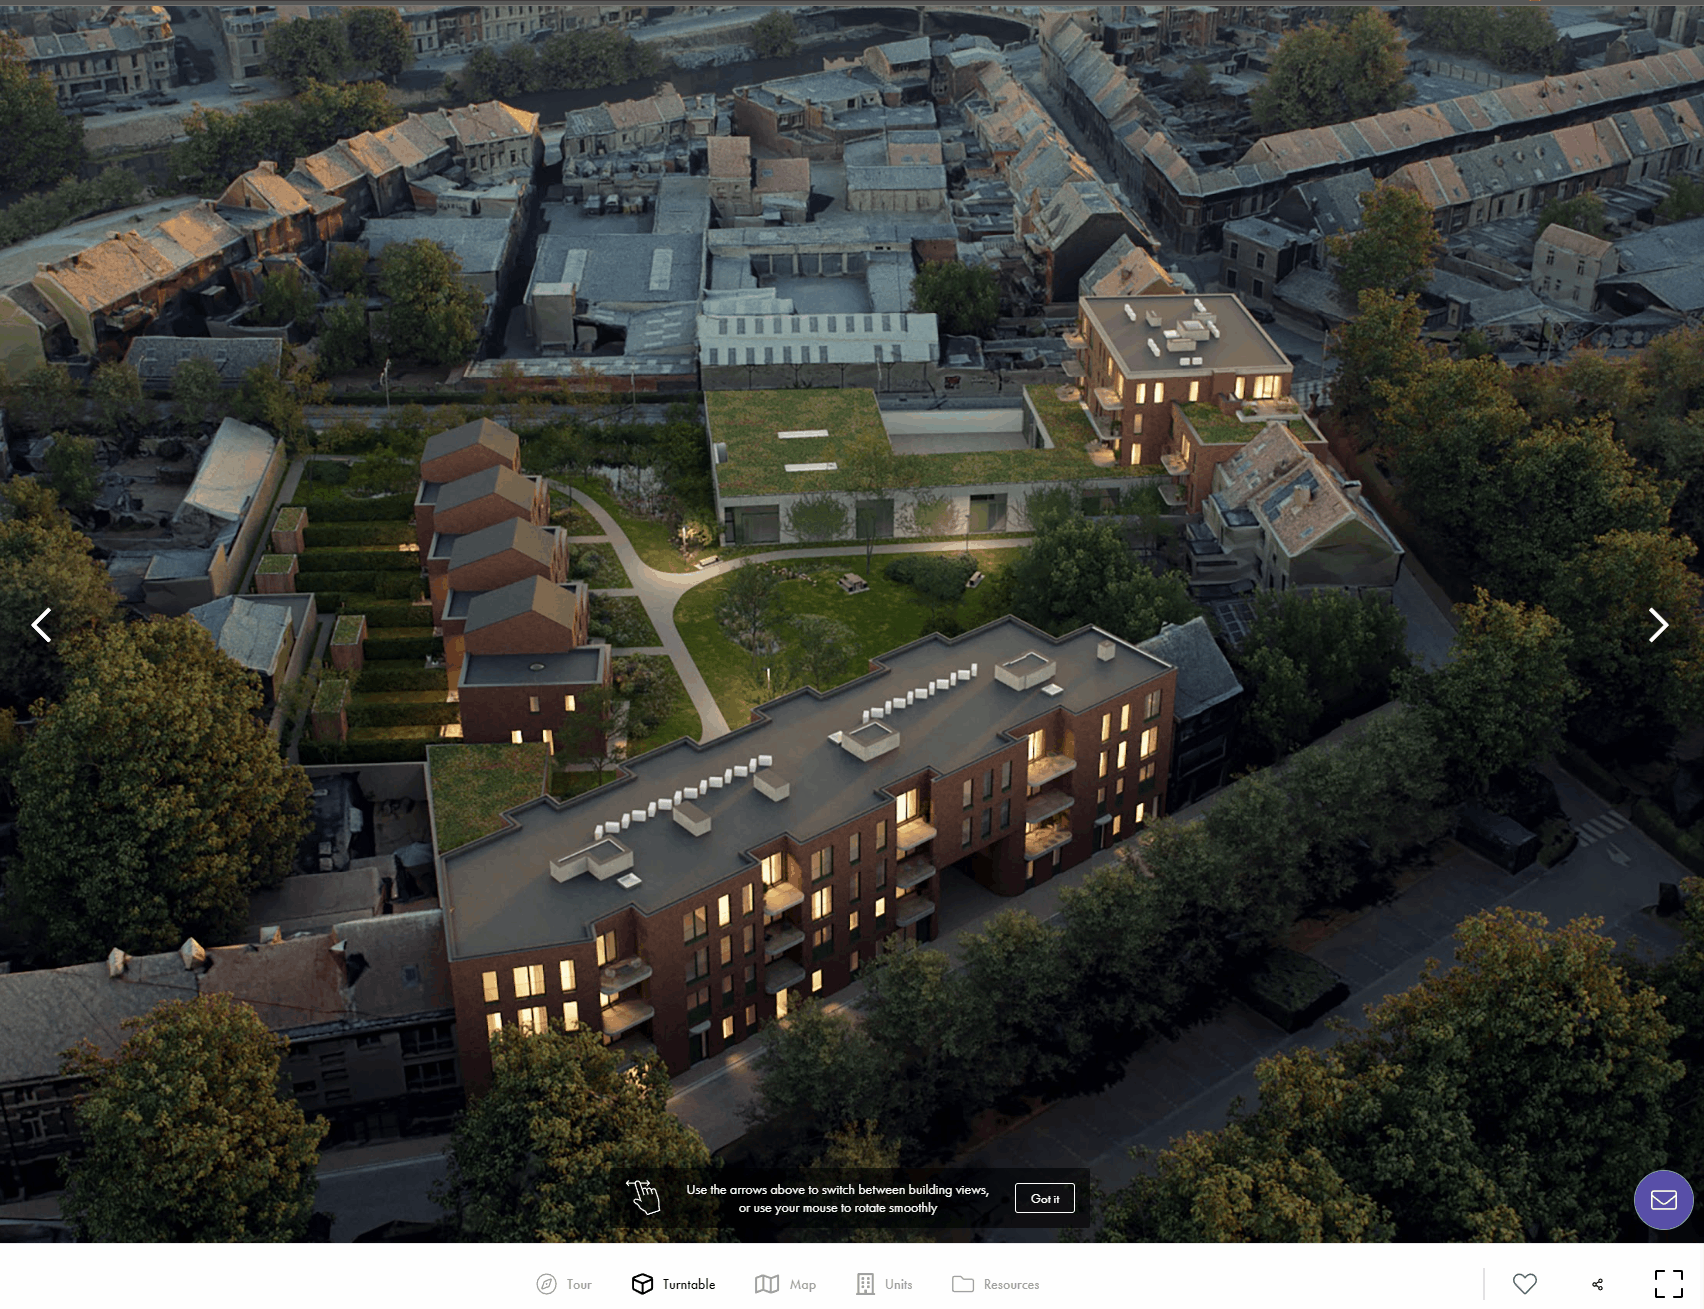
A prerendered turntable maquette is the ideal way of showing of your real estate project. It strikes the perfect balance between interactivity and visual fidelity, allowing your prospects to get to know your project in high detail from the comfort of their own couch, on any device.
How it works
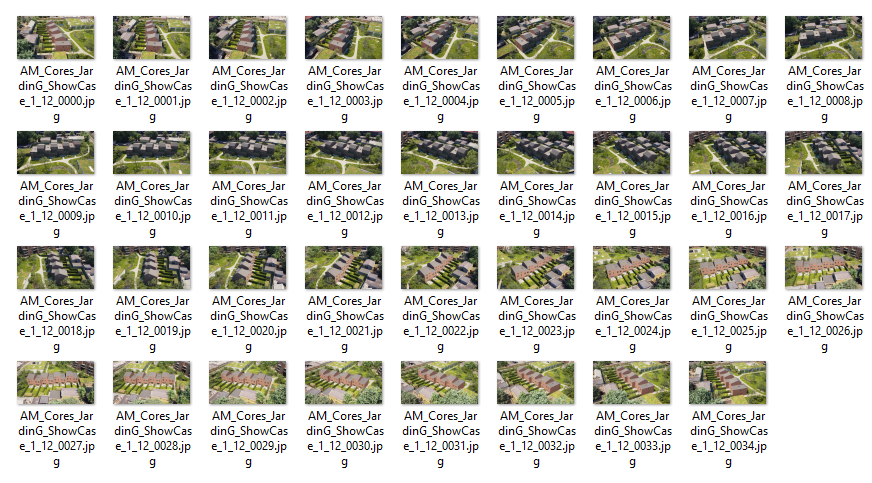
In short, we've all seen a zoetrope before, when you create the illusion of motion by spinning a set of cards or figures and they come alive! In a similar sense, when you create take 18 angles of your property and spin them around, they start feeling like a coherent experience. The more images you add, the smoother the effect is, up until the full 360° of a circle.
Prompto technology ensures a smooth experience every time by optimizing loading speeds & memory use, but ultimately the best experience comes from the best looking 3D content.
Your 3D rendering agency will be quite capable of making these for you at a low cost. We recommend between 24 & 36 images per turntable as the ideal amount. The resolution can be up to 4K, since our system optimizes this depending on the viewers device and network capabilities.
Part 1 - The visual
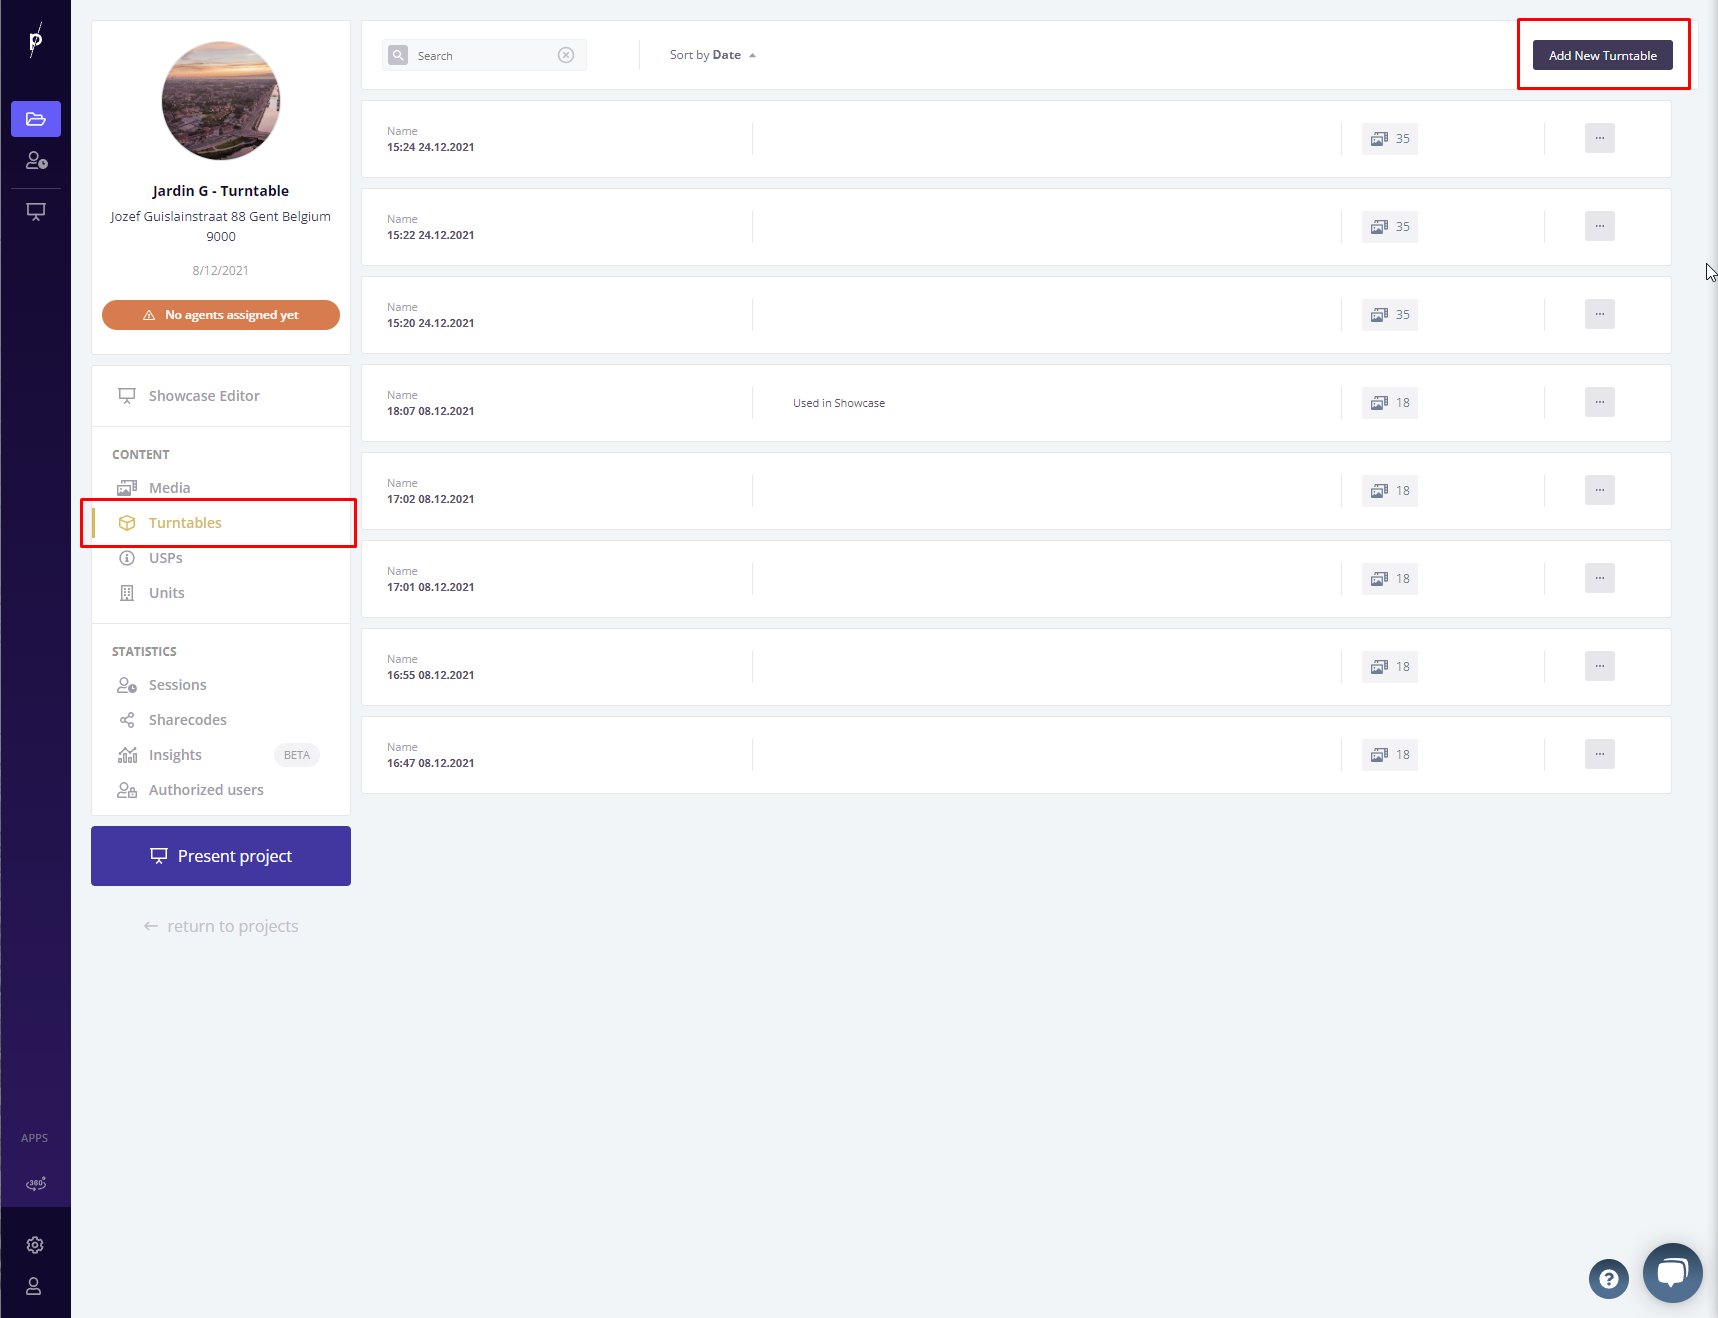
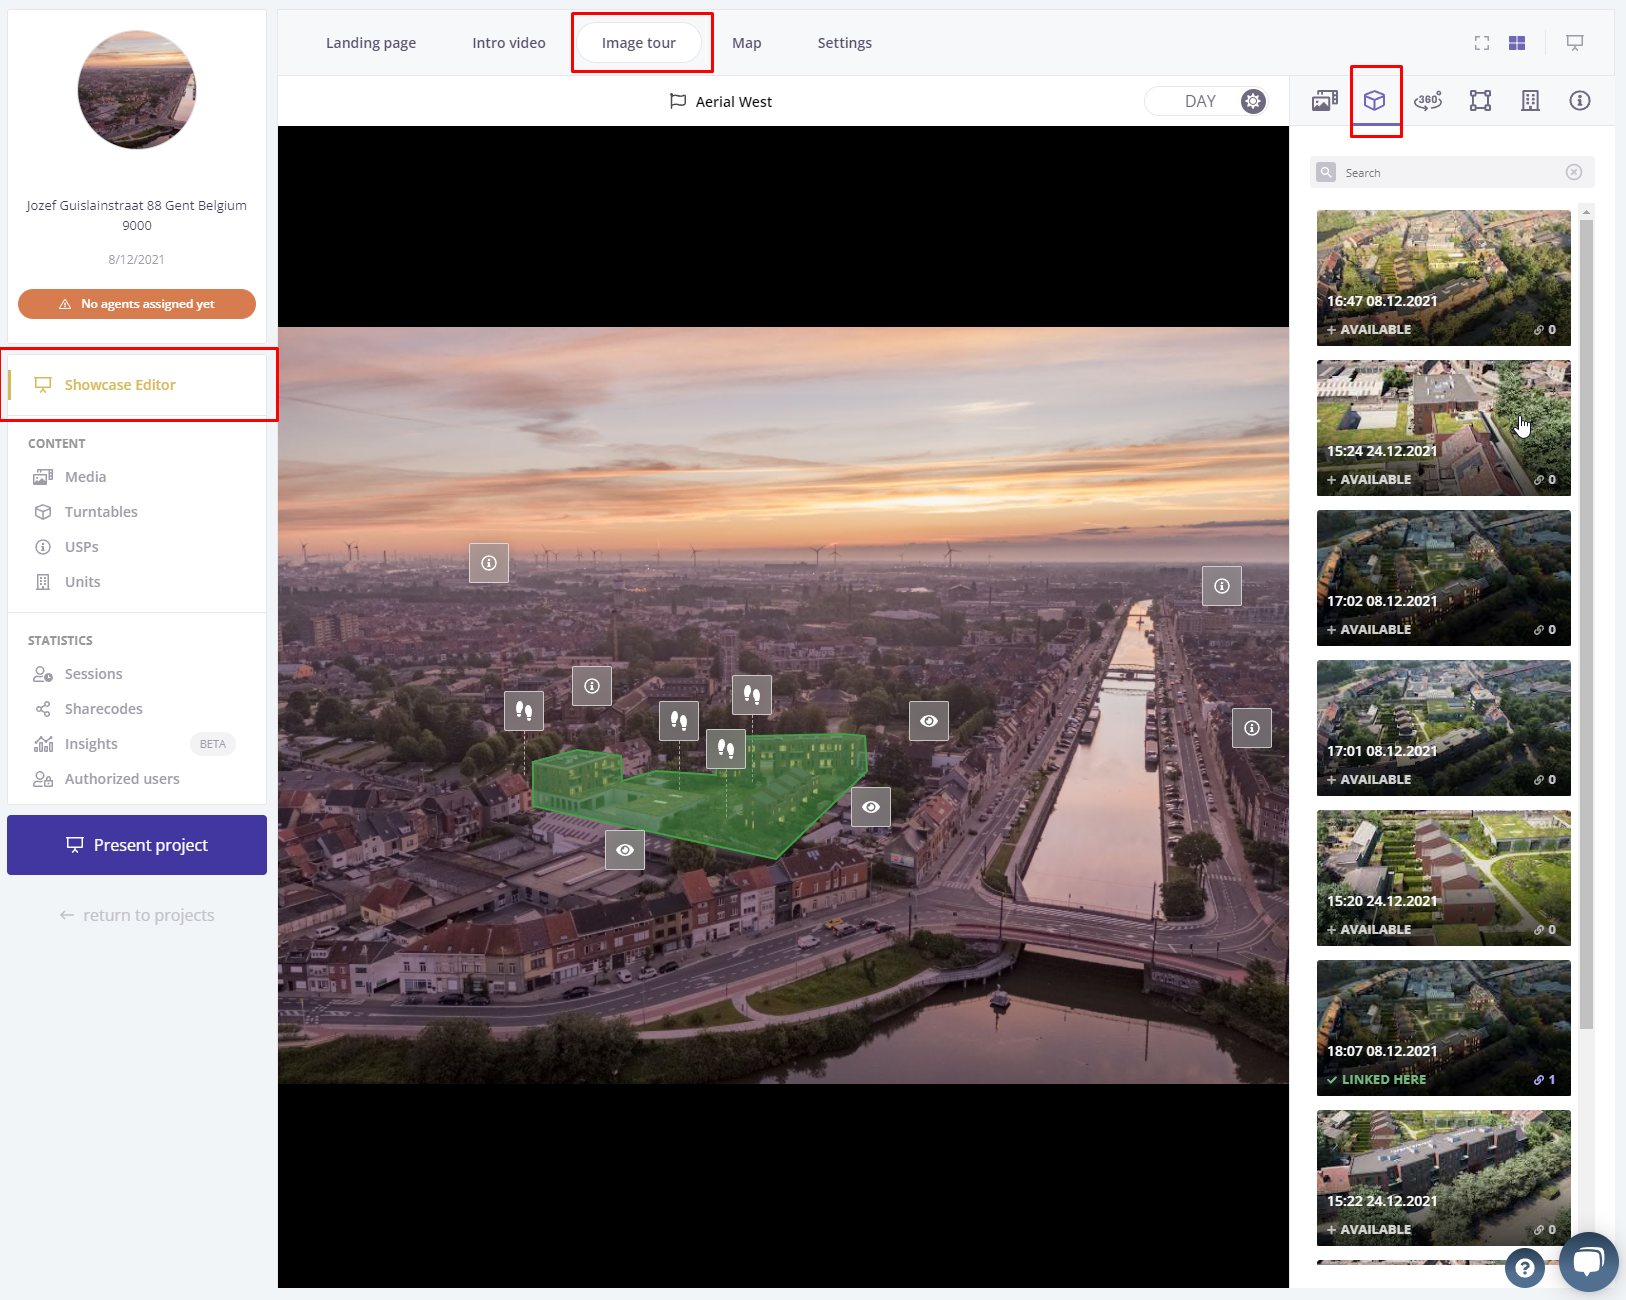
As described in the introduction, make sure you have a set of at least 18 images ready to upload. Head on over to the turntable tab of your project where all your future turntables will be grouped.
Hit the "add new" in the top right there.
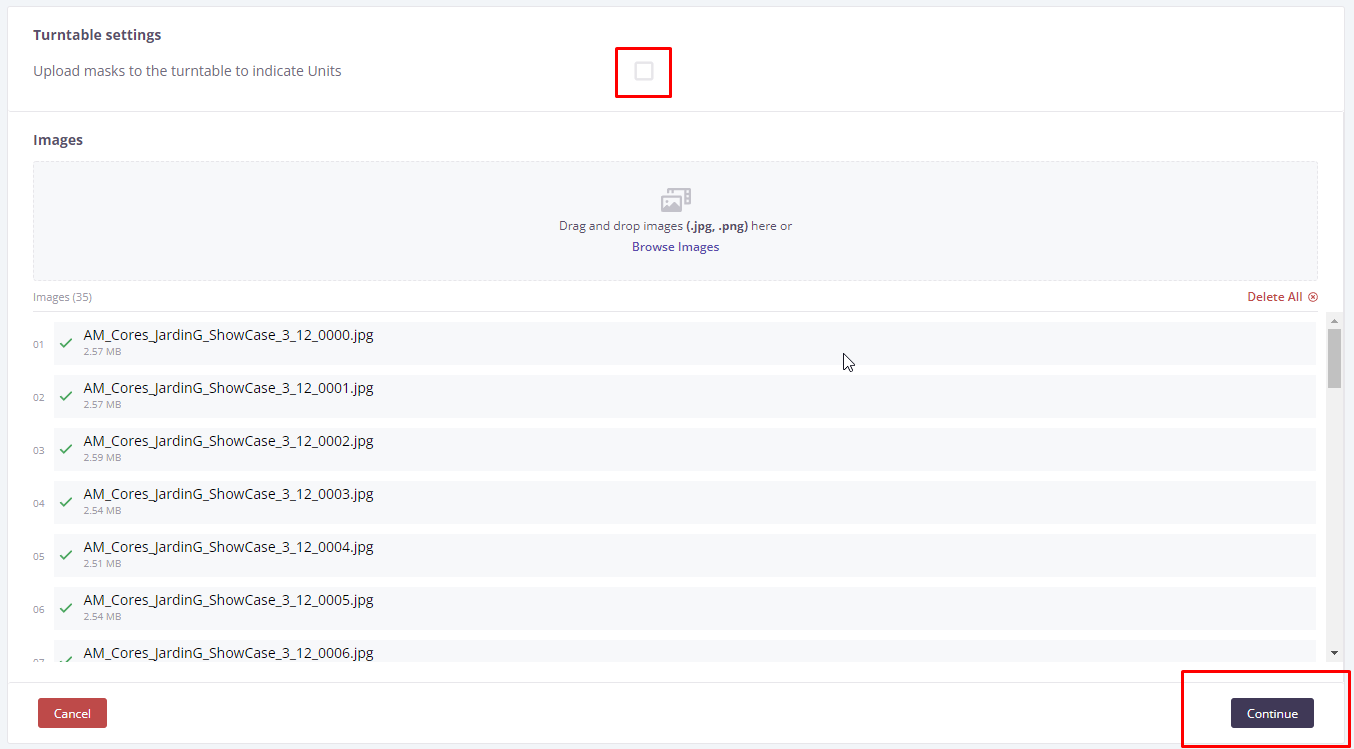
Find the area to upload your images and add them here.
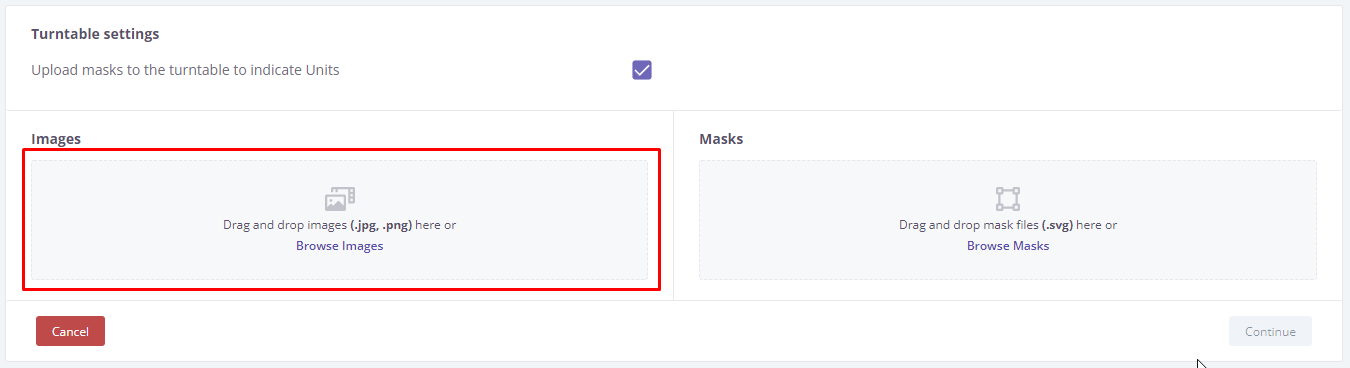
You can see the result straight away by unchecking the mask option and hitting "continue"
You should see your turntable. Drag left and right with the mouse to rotate it around as a preview.
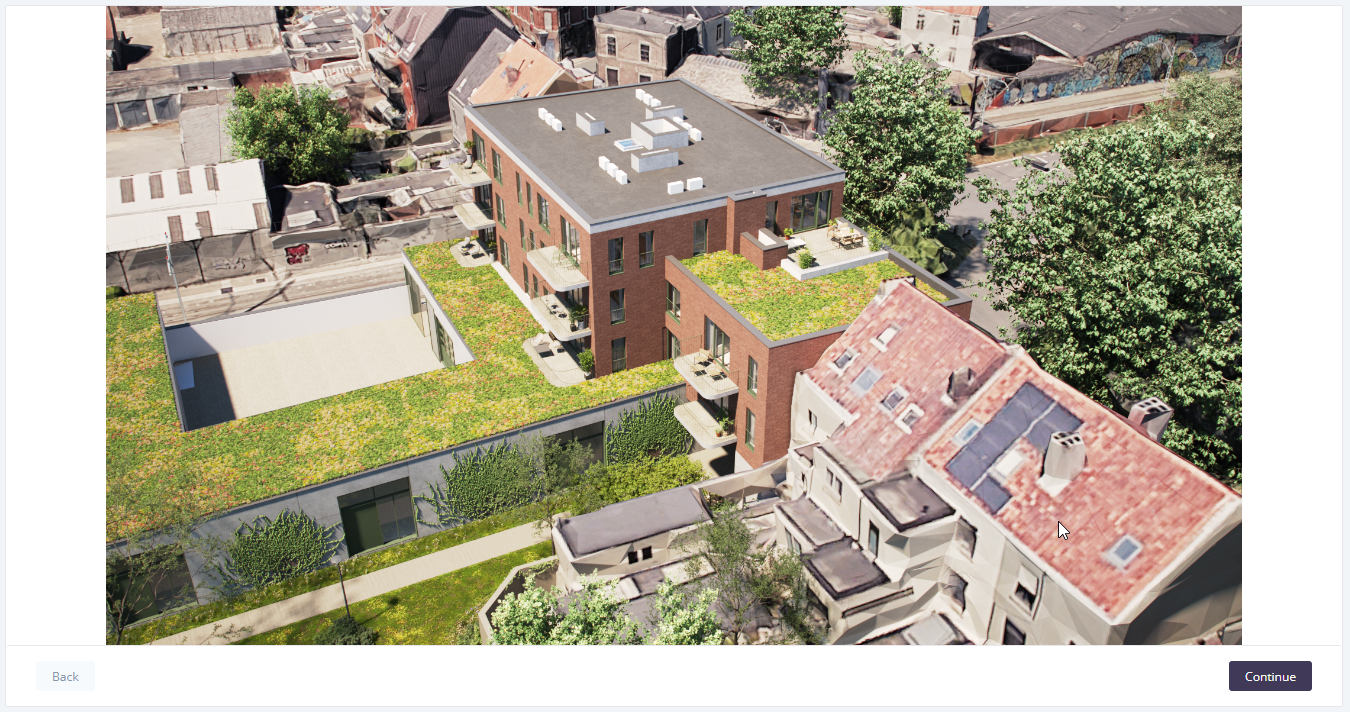
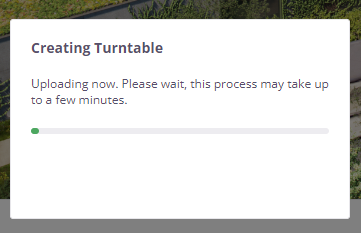
If you think it looks good (no missing images), hit "continue" and the upload will start.
Once that is done, head on over to the showcase editor and you can drag n drop your new turntable anywhere. Find it in the turntable section of your media browser to the right.
Part 2 - The interactivity
In this part, we'll add the clickable zones to highlight your purchasable units!
Introducing SVG masks
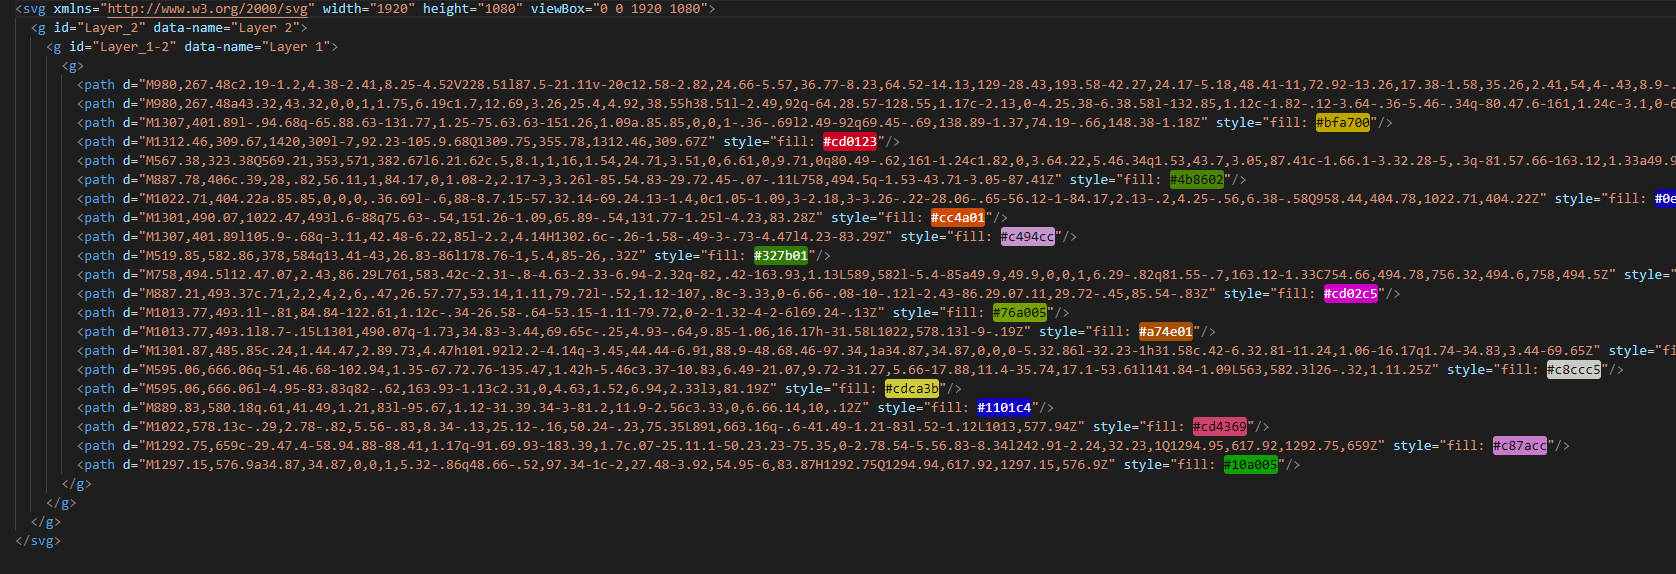
To start, you will need to work together with your content creation agency to create files called .SVG's. This is a linedrawing format you might recognize from your company logo. When compared to your standard imagery, an SVG doesn't save pixels, but only lines & coordinates. As a major benefit, you can zoom into such a drawing forever without losing visual quality. That's why your logo is made like this, and not with pixels!!

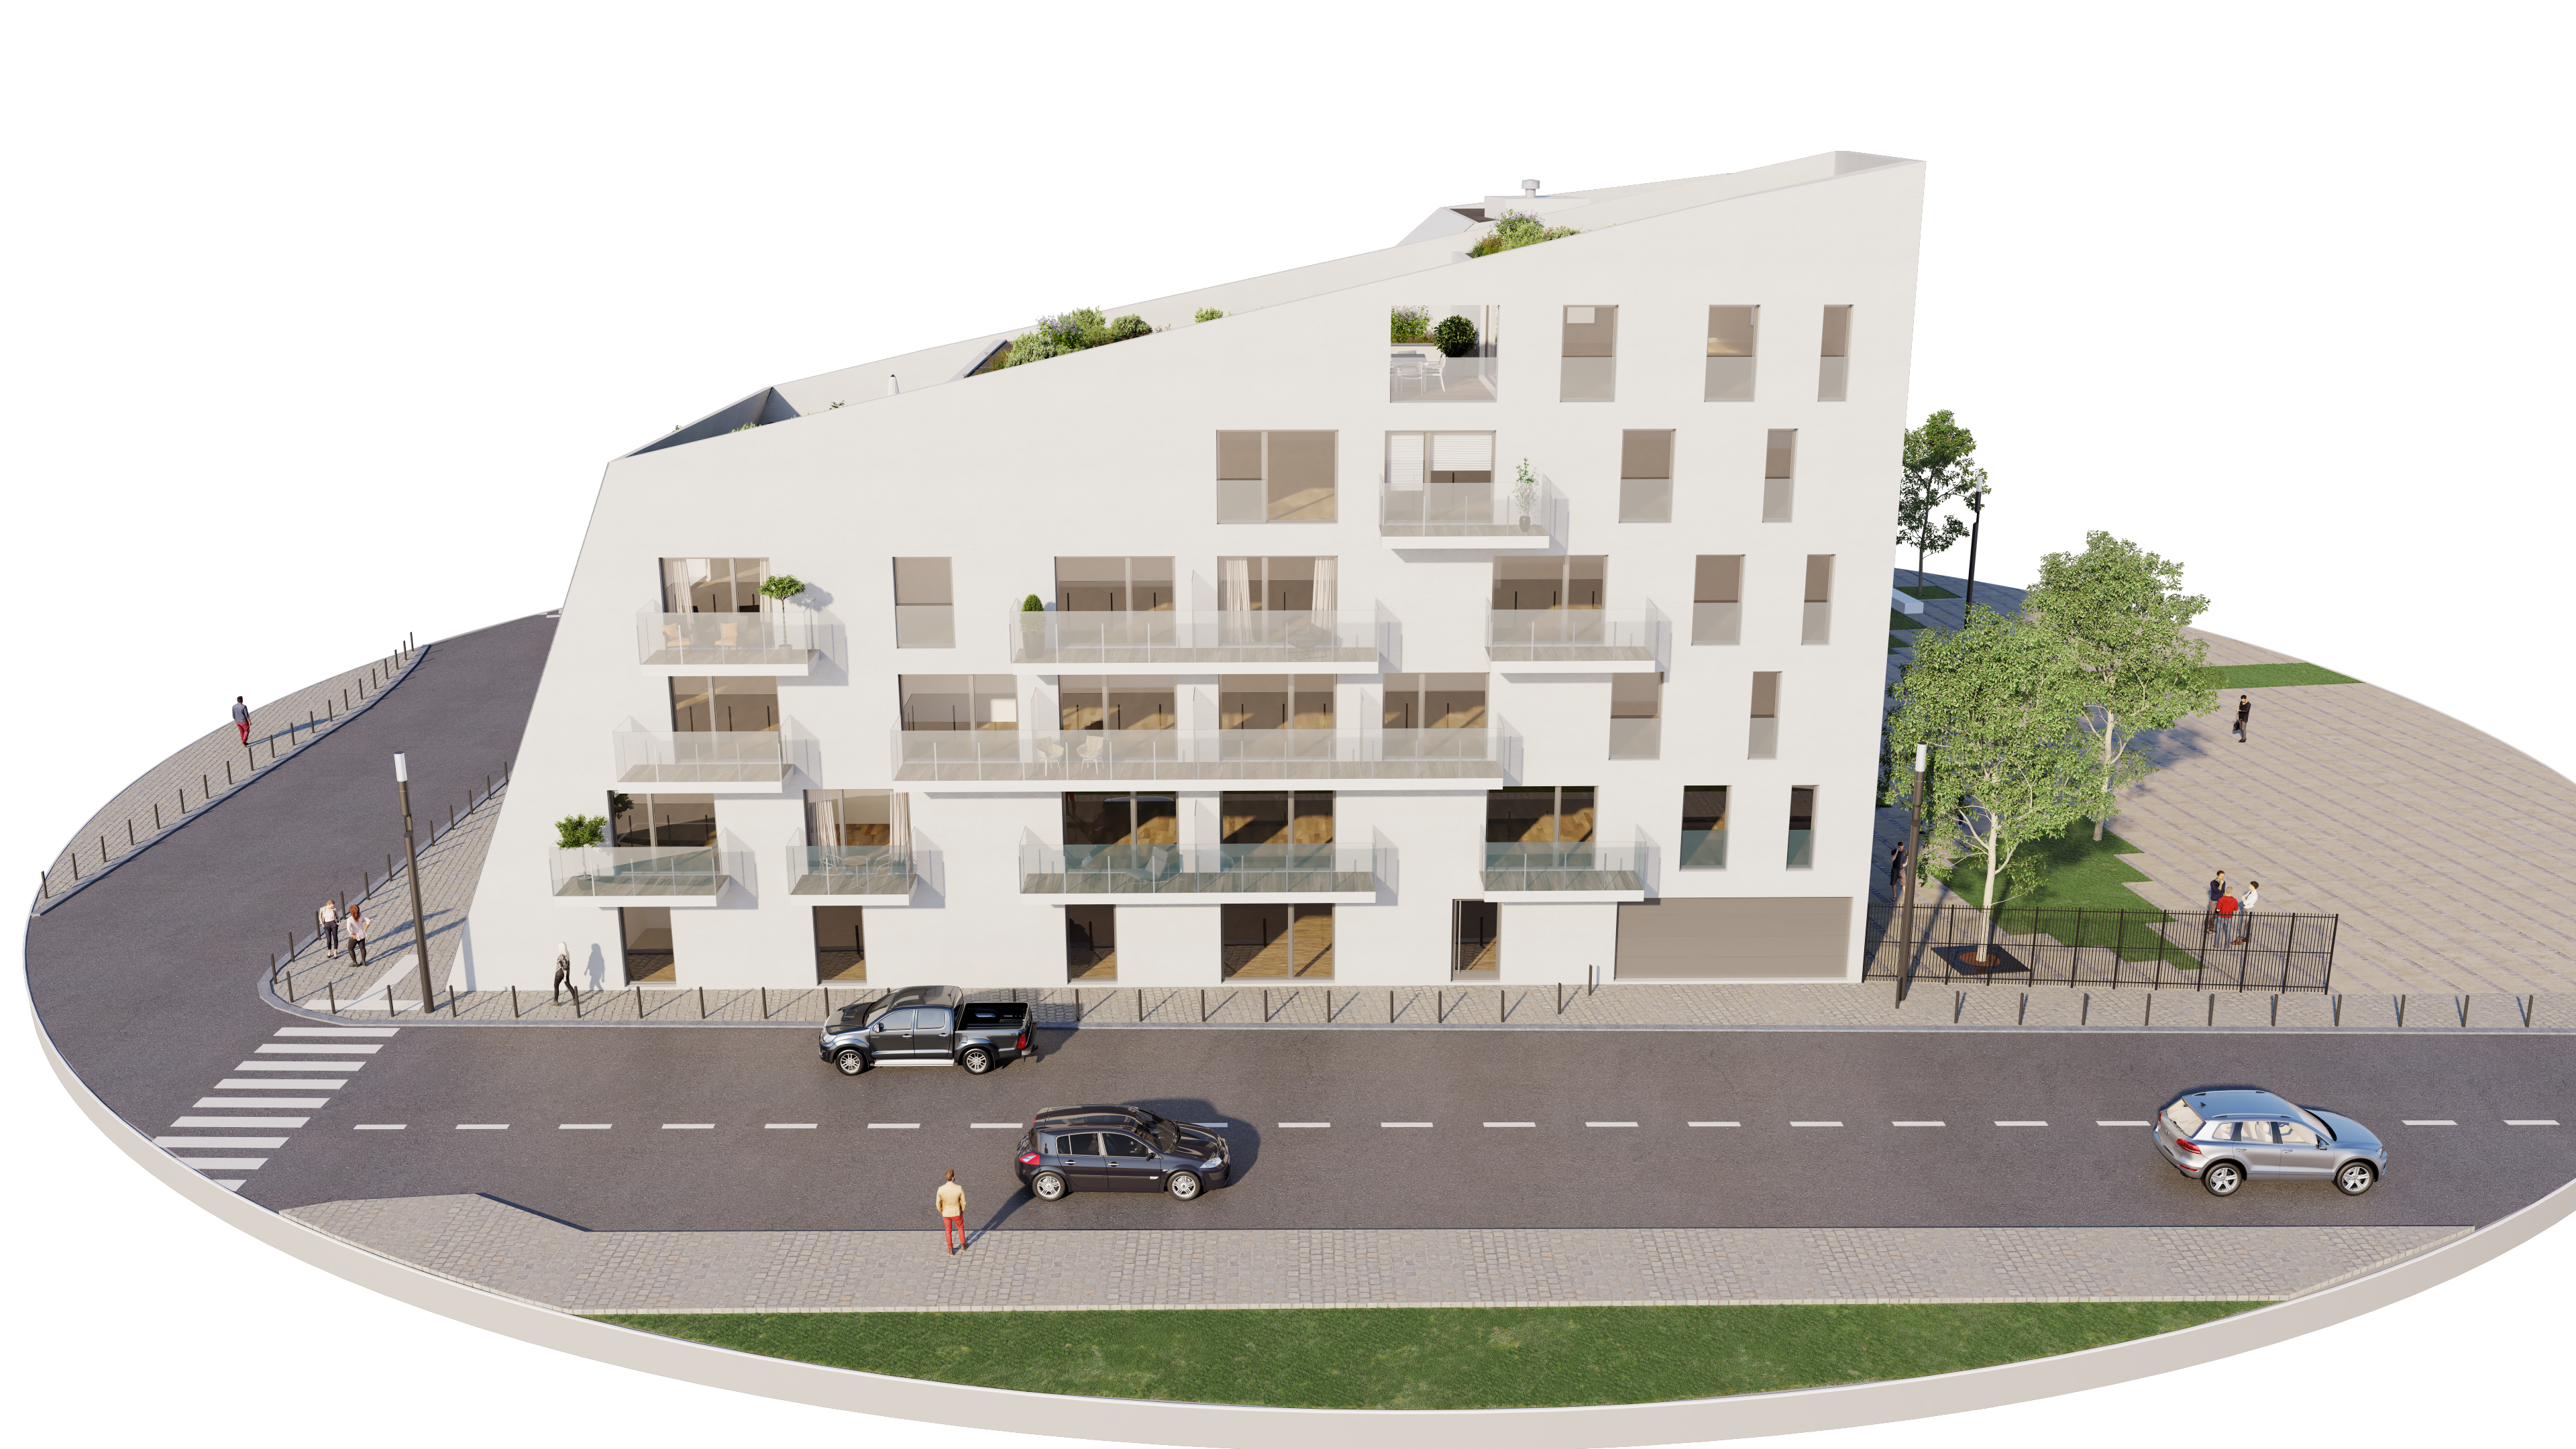
So to break it down, your image will look like this. 👇
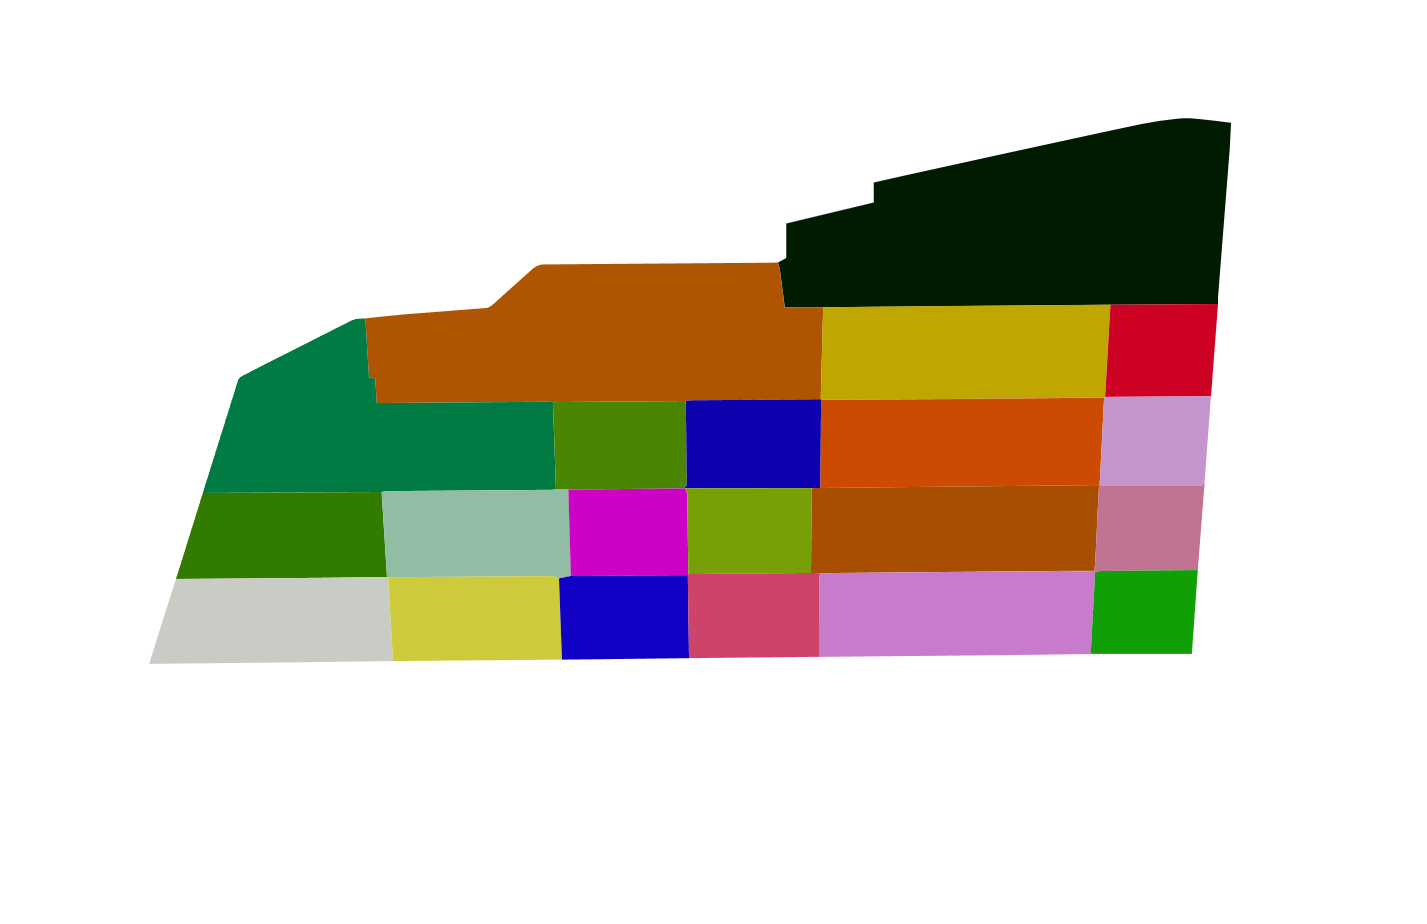
And your second image, the SVG, will look like this 👇
By combining these two layers. Prompto can add lots of interactivity to your building!
So if you have 24 images to turn around the building, you will need 24 .SVG files to have a consistent interactivity on each image.
⚠️Important ⚠️
Make sure that every SVG in the turntable uses the exact same colors! if your RGB or HEX code is different in every image, Prompto will assume these are different and create 24 different interaction links. If you use the same color in every svg, Prompto will recognize they are the same and create only 1 link per color, but shared over all images.
In the editor
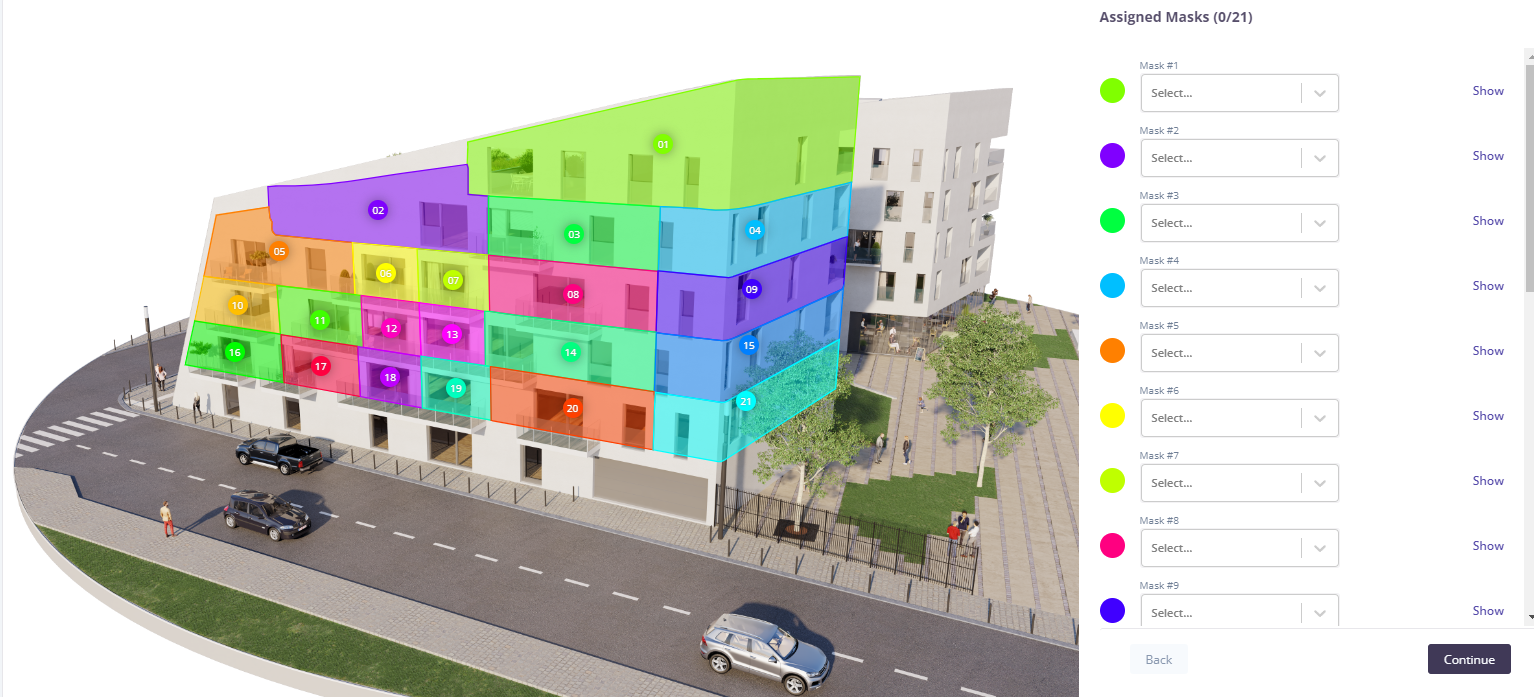
Let's go back to the turntable section and add a new turntable. Add your images like before, but this time, enable the toggle upload masks to the turntable to indicate units
Now drag and drop the svg's, or select from folder, to the section on the right. The naming doesn't matter, as long as they have the same alphabetical order. You need an equal amount of images to SVG's though. Now click continue.

On the next screen you will be able to link each section to a unit from your project. Make sure your units were already created! As you can see, you can find either the color or the number assigned to each section both in the viewer and the list.
Turn around the building once in a while to make sure you've covered all units.
Once every unit is linked, hit continue to finish the setup of your turntable
That's it!
Now head on over to the showcase editor to add your new turntable in your experience.